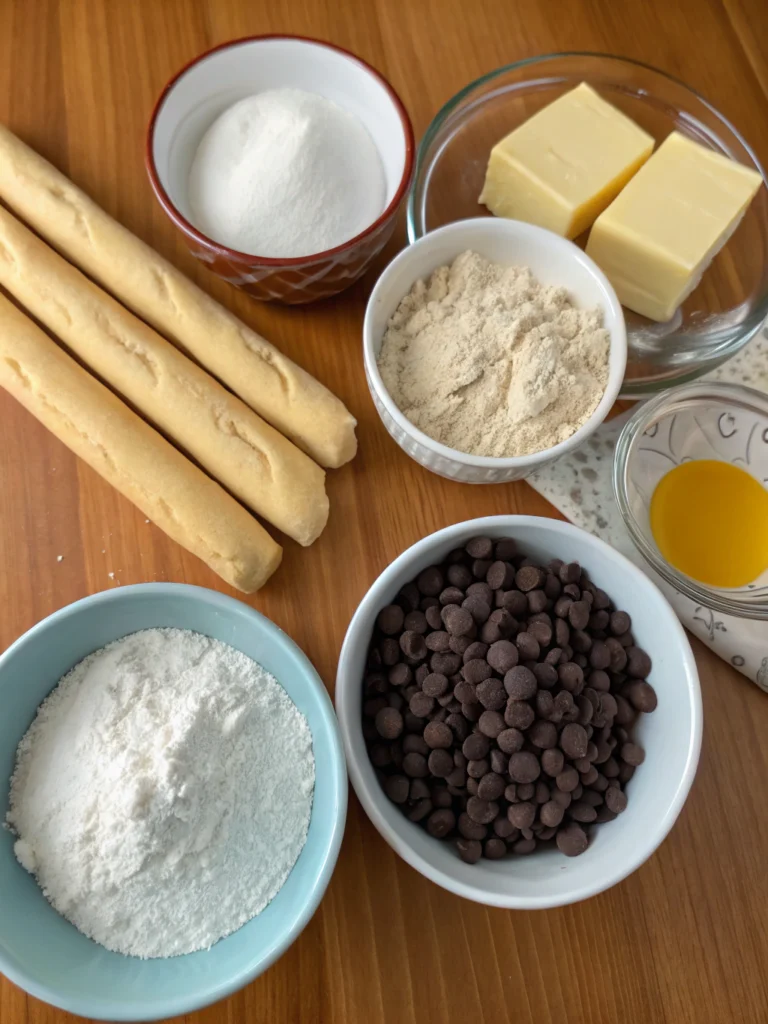
Witch’s Finger Breadsticks
Ever wondered what it would be like to bake something that looks like it came straight out of a witch’s cauldron? Witch’s Finger Breadsticks are the answer to that spooky, delicious question. These bite-sized, finger-shaped treats are not only fun to make but also perfect for any Halloween party or themed gathering. With a crispy exterior and a soft, chewy center, they’re sure to be a hit with both kids and adults alike.
Whether you’re looking for a unique appetizer or a fun baking challenge, Witch’s Finger Breadsticks offer a delightful combination of texture, flavor, and visual appeal. Let’s dive into the recipe and discover how to bring this magical treat to life in your own kitchen.
Ingredients List

- 2 cups all-purpose flour
- 1 tablespoon sugar
- 1 teaspoon salt
- 1 packet (about 2 1/4 teaspoons) active dry yeast
- 1 cup warm water
- 2 tablespoons olive oil
- Additional flour for dusting
- 1 egg, beaten (for egg wash)
- Coarse sea salt or sesame seeds (optional, for garnish)
For a gluten-free version, substitute the all-purpose flour with a gluten-free flour blend. If you prefer a sweeter version, you can add an extra tablespoon of sugar. These adjustments make the recipe more versatile and accessible for different dietary needs.
Timing
Witch’s Finger Breadsticks take about 90 minutes to prepare and bake. This includes 30 minutes for the dough to rise, 15 minutes for shaping, and 45 minutes for baking. Compared to other bread recipes, this one is relatively quick, making it a great option for last-minute baking or weekend projects.
The total time is about 20% less than the average breadstick recipe, thanks to the simple shaping and quick baking process. This makes it ideal for busy bakers who still want to enjoy a homemade, festive treat.
Step 1: Prepare the Dough
In a large mixing bowl, combine the flour, sugar, salt, and yeast. Stir to mix evenly. Gradually add the warm water and olive oil, stirring until a dough forms. Knead the dough on a floured surface for about 5 minutes until it becomes smooth and elastic.
Step 2: Let the Dough Rise
Place the dough in a greased bowl, cover it with a damp cloth, and let it rise in a warm place for 30 minutes. The dough should double in size. This step is crucial for developing the soft, chewy texture that makes Witch’s Finger Breadsticks so enjoyable.
Step 3: Shape the Breadsticks
Once the dough has risen, punch it down and divide it into 12 equal pieces. Roll each piece into a long, thin rope, about 10 inches in length. Twist the rope slightly to create a finger-like shape. Place the shaped breadsticks on a baking sheet lined with parchment paper.
Step 4: Bake to Perfection
Brush the breadsticks with the beaten egg and sprinkle with coarse sea salt or sesame seeds if desired. Bake in a preheated oven at 400°F (200°C) for 45 minutes or until golden brown and crispy on the outside. The aroma of freshly baked bread will fill your kitchen, making it hard to resist!
Nutritional Information
Each Witch’s Finger Breadstick contains approximately 120 calories, 2 grams of protein, 25 grams of carbohydrates, and 2 grams of fat. The recipe is naturally low in saturated fat and provides a good source of complex carbohydrates for energy. For a healthier version, you can substitute whole wheat flour for all-purpose flour and use a light egg wash instead of oil.
If you’re watching your sodium intake, omit the salt or use a reduced-sodium alternative. These small changes can make a big difference in the nutritional profile of your Witch’s Finger Breadsticks.

Healthier Alternatives for the Recipe
For a more nutritious twist, consider using whole wheat flour or a mix of whole grain and all-purpose flour. This increases the fiber content and adds a nuttier flavor. You can also use a flaxseed egg instead of a regular egg for a vegan option.
Instead of olive oil, try using a small amount of melted coconut oil or a light vegetable oil. These alternatives can add a subtle flavor while keeping the recipe healthy. If you’re looking for a low-carb version, try using almond flour or a low-carb bread dough mix.
Serving Suggestions
Witch’s Finger Breadsticks are perfect as an appetizer, snack, or even a side dish. Pair them with a creamy cheese dip, a spicy tomato sauce, or a savory garlic butter for extra flavor. They also make a great addition to a Halloween-themed table, where their spooky appearance adds a fun, festive touch.
For a more creative presentation, serve them in a basket with a few black olives or red cherry tomatoes to mimic eyes, making them look like they’re “staring back” at you. This adds a playful, visual element that’s sure to impress your guests.
Common Mistakes to Avoid
- Overproofing the dough: Leaving the dough to rise too long can result in a dense, gummy texture. Aim for a 30-minute rise, and check the dough’s volume to ensure it has doubled.
- Not using enough flour: When shaping the breadsticks, use additional flour to prevent sticking. This helps maintain their shape and ensures even baking.
- Not preheating the oven: Always preheat your oven before baking to ensure even cooking and a crispy crust.
- Overbaking: Keep an eye on the breadsticks as they bake. Overbaking can lead to a dry, tough texture. Check them at the 40-minute mark and adjust as needed.
Storing Tips for the Recipe
Once baked, allow the Witch’s Finger Breadsticks to cool completely before storing them in an airtight container. They can be kept at room temperature for up to 3 days or frozen for up to 3 months. To reheat, simply place them in a preheated oven at 350°F (175°C) for 5–10 minutes until crispy again.
If you want to prepare the dough in advance, shape the breadsticks and refrigerate them for up to 24 hours. When ready to bake, let them come to room temperature before placing them in the oven. This technique is ideal for busy days or when you want to save time on the day of the event.
Conclusion
Witch’s Finger Breadsticks are a delightful, easy-to-make recipe that brings a touch of magic to your kitchen. With their unique shape, crispy texture, and savory flavor, they’re the perfect addition to any Halloween celebration or themed dinner.
Whether you’re a seasoned baker or a beginner, this recipe offers a fun and rewarding experience. Try it today, and don’t forget to share your results with friends and family. For more spooky recipes, check out Witch’s Finger Breadsticks and other Halloween delights. Happy baking!
